Dog Blog Post #?
Photography Assignment
Daily Dog Challenge "437. Try Something New"
Our Daily Challenge - Jan 10, 2013 - "Take a Risk"
What did you expect - a seascape? :)
Those following along at home might recall I've been playing with my new Xmas 135mm f/2 - a lovely lens, which has forced me to finally remove my speedlight from the camera and experiment with off-camera lighting this past week.
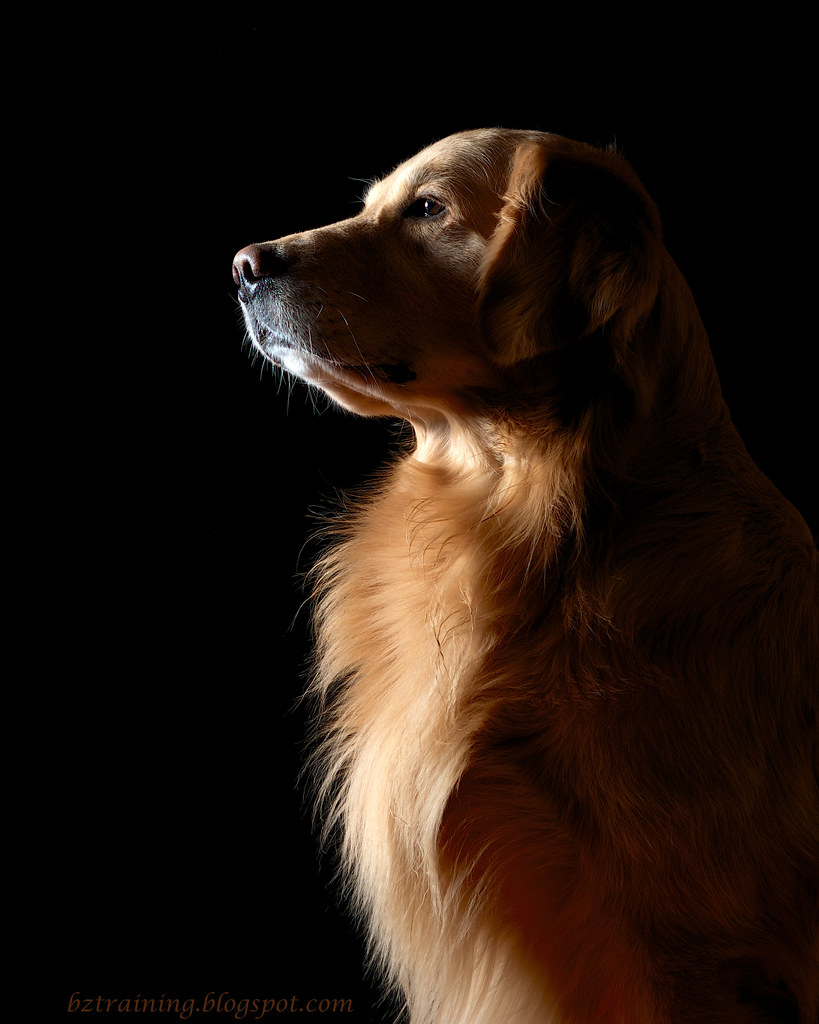
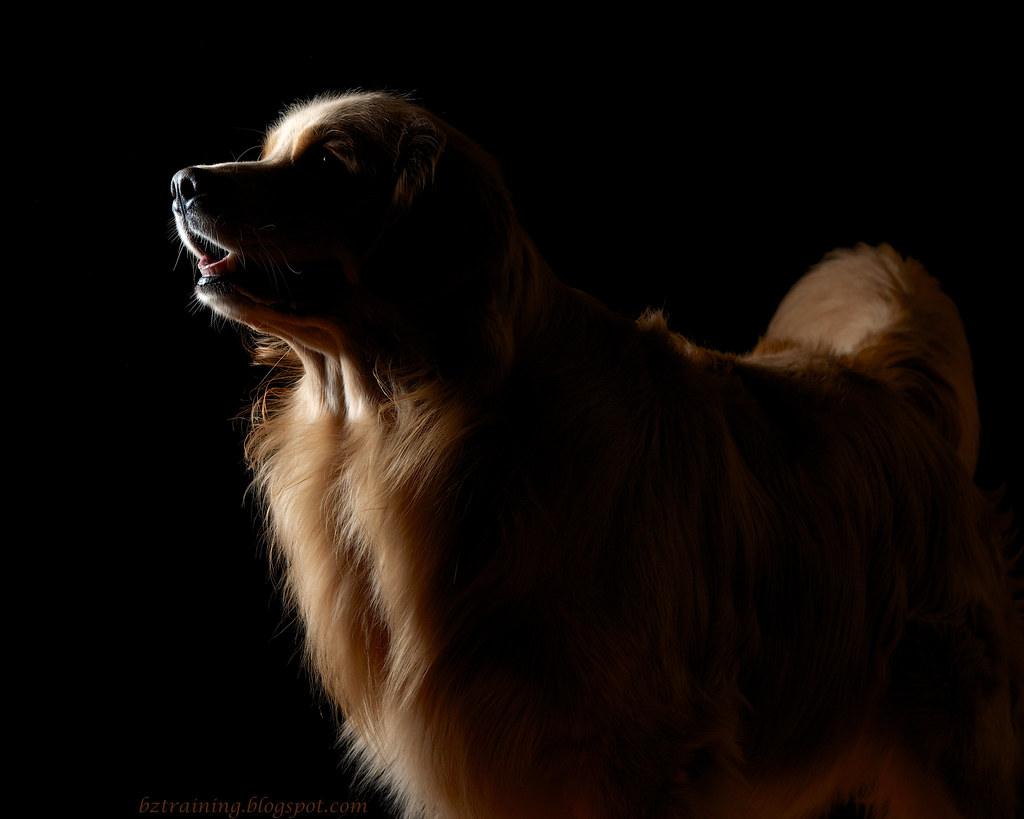
Continuing my explorations, today I took a stab at Rim Lighting.
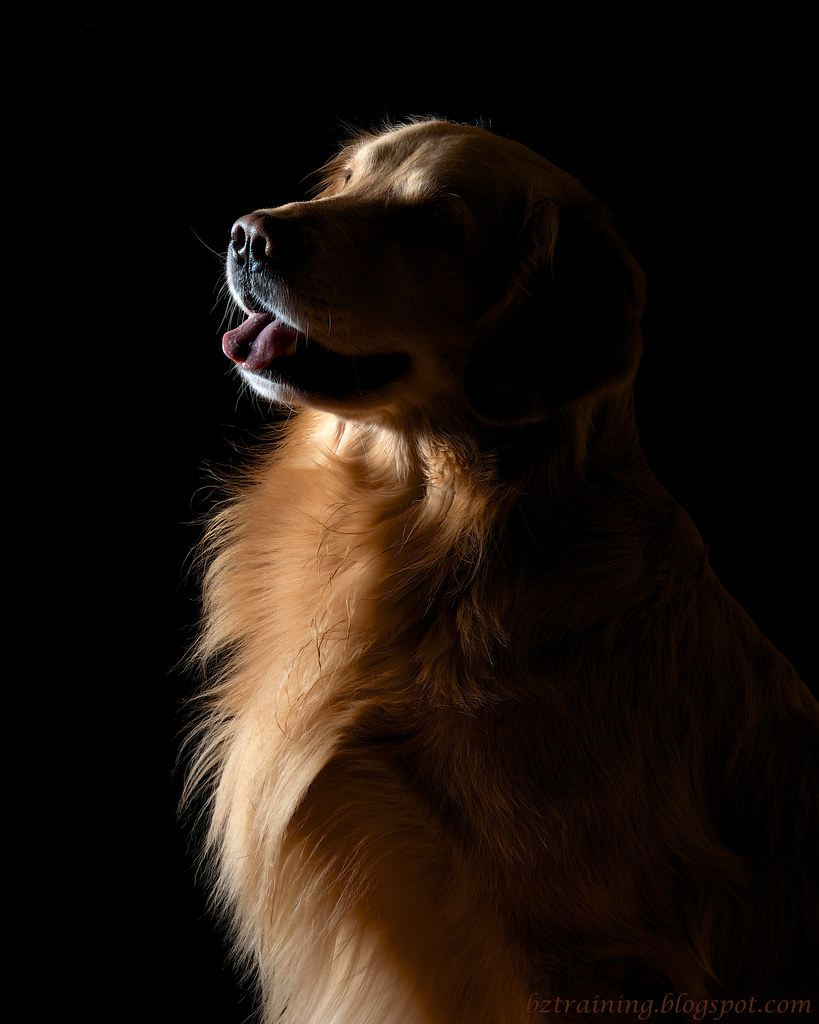
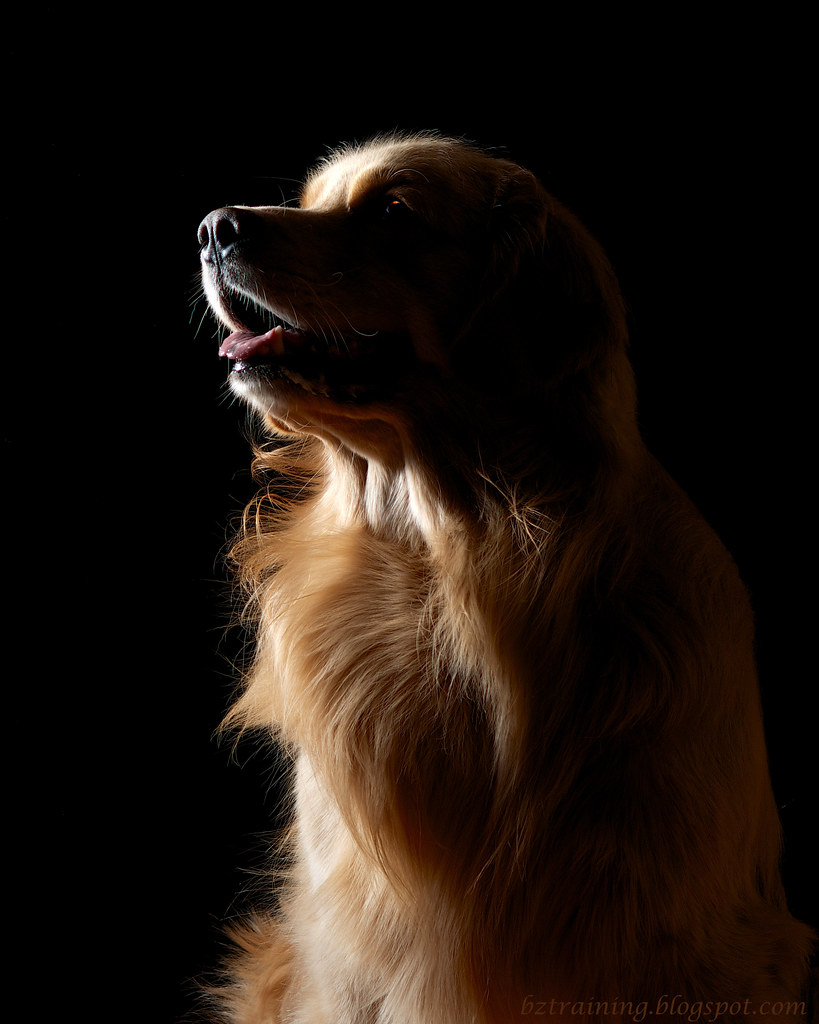
While Henry's shots (below) were mostly expended trying to get the equipment set up correctly, I spent Zachary's shots (above) fine tuning his location relative to the light source and camera.
While the very top shot might not be the best example of Rim Lighting of the six shots I uploaded today, it was my favorite of the set, perhaps because you can see Zachary's eye so clearly.

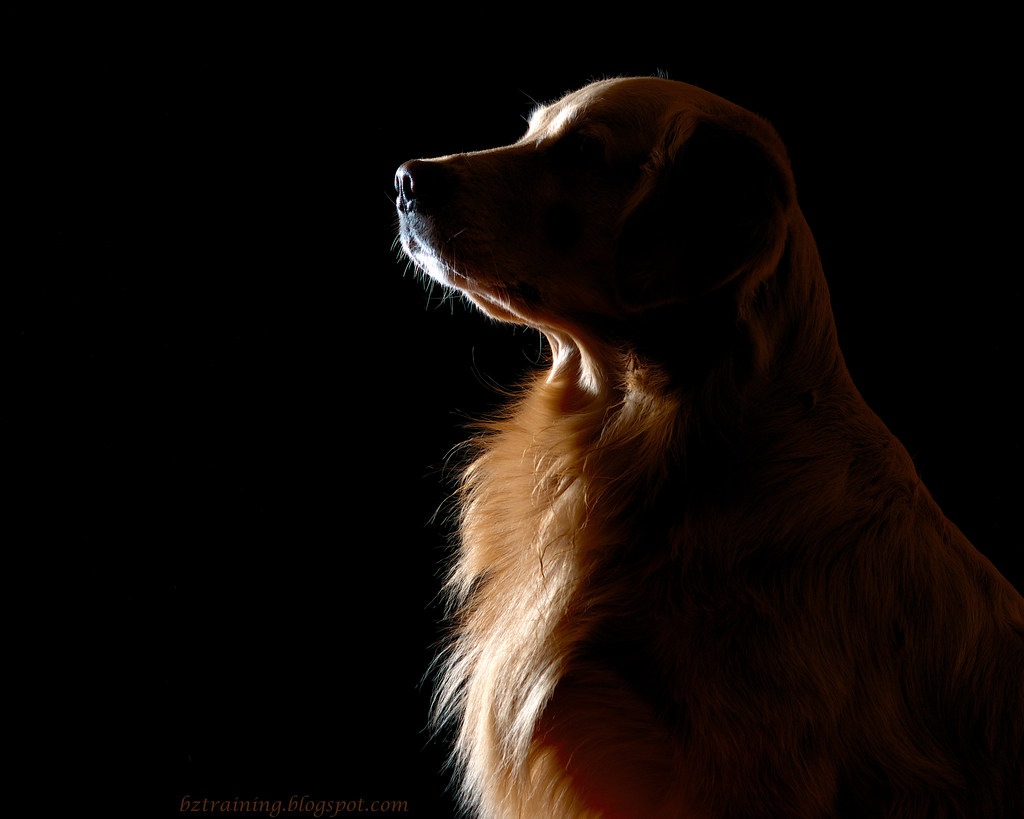
This last shot (above) is probably the most true-to-definition shot of the bunch, but only because I slathered it in a post-processing polarizer to vanquish an unattractive wash of light.
Sometime after this shot, I caught a clue and took another 1.3 off the EV, pushed the umbrella/flash as close I could get it to the backdrop to cut down on scattered light, and ultimately added a black reflector.
Below is an incredibly rough estimate of what I ended up with, limited by the icons I could choose in the Strobox app I picked up for my iPhone just so I could pass along my lighting attempts in the blog. :)
Obviously, my backdrop is black and not white.
And my flash is freestanding, but I do hide it behind an umbrella, so that isn't too much of a stretch.
The disk in the image represents my reflector, only I had the black side showing. This helped somewhat to reduce the glare from the flash from hitting (and greying out) the backdrop.
As I'm shooting with a 135mm lens, the camera is at least twice as far away from my "model" (can you believe they didn't let you pick a dog???) as is shown here.
Why is the camera angled? Because the tripod is positioned about mid-away down the length of my six-foot sofa and I don't want to get the end of the sofa in the picture. This pushes the camera to left (sofa on the right) and leaves it slightly angled to the backdrop. Not as much as is shown here, but not straight on either.

Is this the best way to set this up? I have no idea. But it produced the best pictures of what I tried given the equipment I have and the size of the room I have to put it in.
-- Like the idea of a daily dog photography prompt? Click on Daily Dog Challenge and join us!
© 2012 BZ Training - All Rights Reserved
5 comments:
Very pretty! I really love the first one!
Sam
The one you chose is my favorite, too, and I absolutely love this effect! I am SO glad you included the diagram, because I am dying to try this myself! I have to snoop for that app!
I'm intrigued!
Love the first photo.
Absolutely pawsome photos - my human is really jealous of your new lens and the black backdrop too! *Waggy tail*
All I can say is....stunning!
Post a Comment